digitaloceanspaces.com, Transmit gives an error. If this happens, try another name.
Using Transmit 5 for macOS with DigitalOcean Spaces
Validated on 19 Jun 2018 • Last edited on 20 Feb 2025
Spaces Object Storage is an S3-compatible object storage service. Spaces buckets let you store and serve large amounts of data, and the built-in CDN minimizes page load times and improves performance.
Transmit is a macOS-only file transfer utility developed by Panic, Inc.. It handles a wide variety of server types including FTP, SFTP, WebDAV, and S3-compatible servers.
Setup
To use Transmit, you need:
- Transmit 5, which you can download from Panic’s website.
- An access key pair for your Spaces buckets. To generate these, visit the Spaces Access Keys Page in the DigitalOcean Control Panel.
Connect to Spaces
Launch the Transmit application by clicking on its icon in the dock, or double-clicking its icon in your Applications folder. Transmit opens and displays a window with your local filesystem on the left, and an SFTP connection pane on the right:
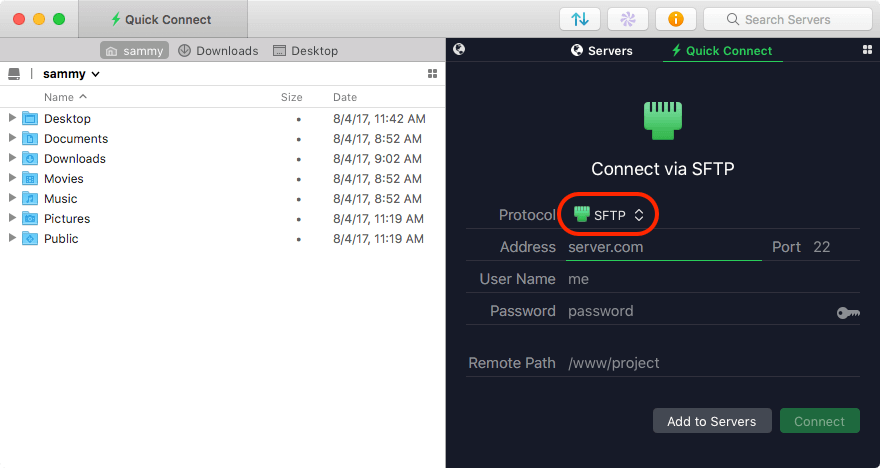
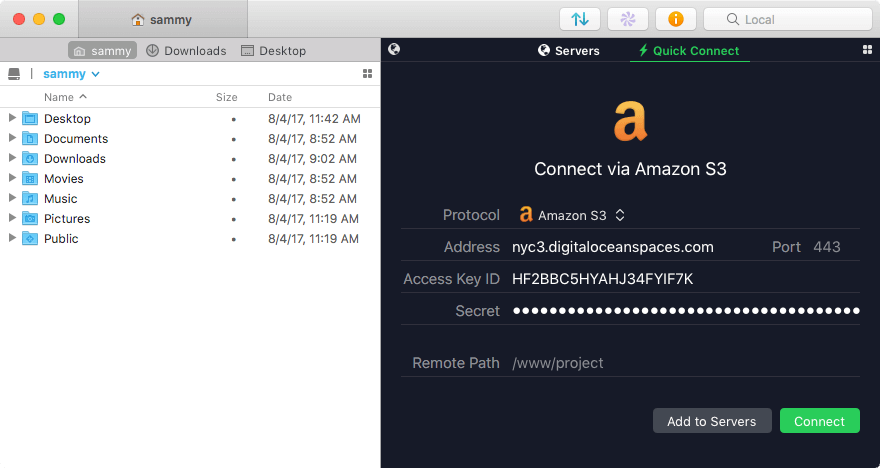
Click the Protocol selection menu, highlighted above, then select Amazon S3. This brings up the form for connecting to an S3-compatible server. Fill in the following details:
- Address: This is the datacenter you created your bucket in, followed by
digitaloceanspaces.com. For nyc3, for example, fill innyc3.digitaloceanspaces.comfor this value. - Access Key ID:
your-access-key - Secret:
your-secret-key - Remote Path: this determines where Transmit navigates to upon connecting. You may put a bucket name (and subdirectory, if desired) here to connect directly to that location
When all filled out, the connection pane should look similar to this:
Click the green Connect button to connect to Spaces. Transmit connects, then displays a list of your Spaces (if you left the Remote Path option blank):
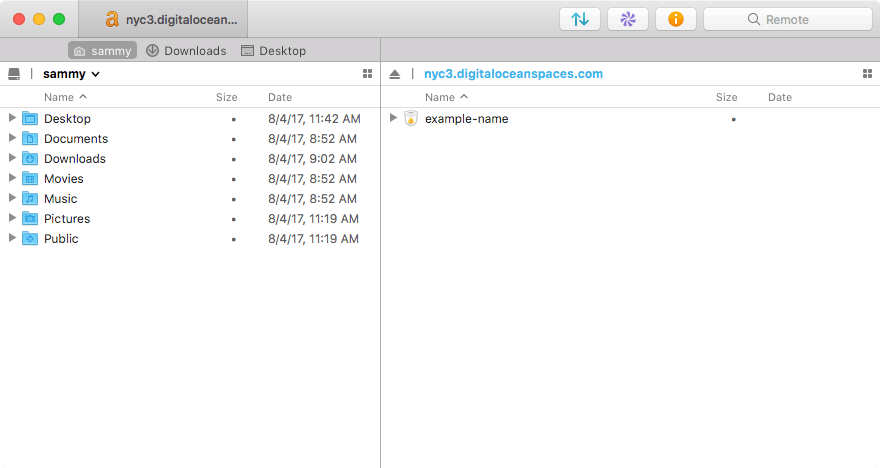
If you have not yet created a bucket, this is empty. In the above screenshot we have one bucket called example-name. Let’s use Transmit to make a bucket next.
Create a New Bucket
To create a new bucket with Transmit 5, first move to the root directory where all your buckets are listed. You can do this by clicking the ____.digitaloceanspaces.com item all the way on the left of the breadcrumb trail at the top of the right-hand pane:

Once you’ve done that, click the File menu, then choose New Bucket….
A window opens asking for a bucket name and location.

Choose any name that fits the guidelines mentioned in the dialog. Leave the default Location value as is. Click Create and your new bucket is created and added to the list.
Next, we’ll navigate into our new bucket and add some files.
Create Some Content in Your Bucket
Double-click the folder that represents your bucket. This opens it and lists its contents in the right-hand pane:

To upload a file, first navigate through your local filesystem using the left-hand side of the Transmit window. When you’ve found a suitable file to upload (pick something like a JPG or HTML file, so we can test in the browser), click and drag it from the left-hand pane to the right. It copies over to your bucket and shows up in the directory listing on the right-hand side.
You can also drag and drop files directly from the macOS Finder.
Next, we’ll test permissions and learn how to make files publicly accessible.
Adjust Permissions and Test Public Access
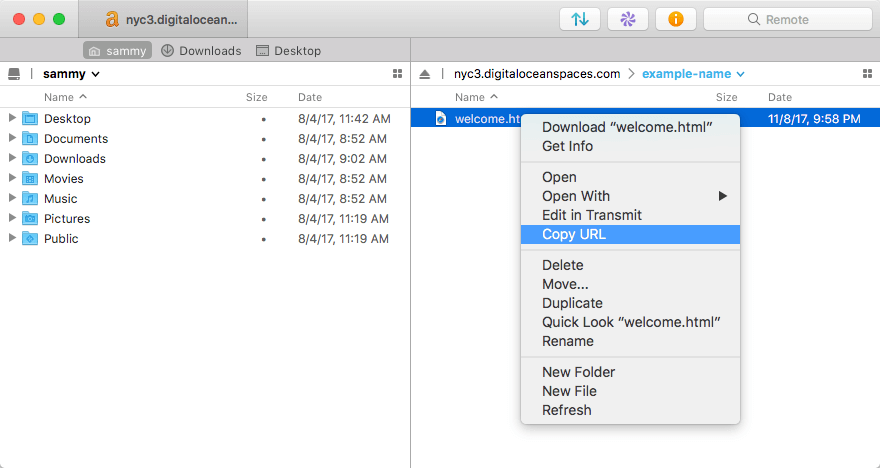
By default, the files in your buckets are not made available to the public. Let’s find the public URL for a file and see what happens when we try to load it in a web browser. In the right-hand pane, after navigating to your bucket, clickce on a file you’d like to view. This selects the file. Then click the Edit menu and select Copy URL. The URL is copied to your clipboard. Alternately, you can right-click the item and select Copy URL from the contextual menu:
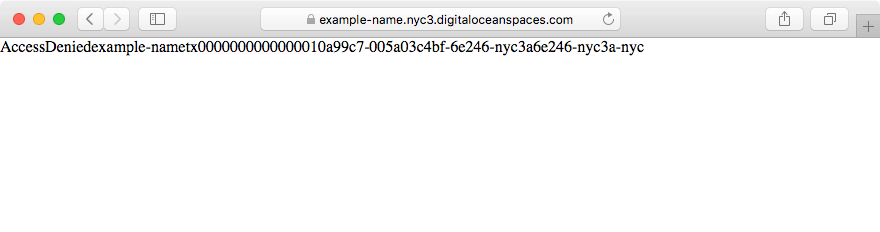
Switch over to your browser, paste the URL into the location bar, and hit ENTER. An AccessDenied error loads:
To remedy this, we need to change the Read permissions on this file. Back in Transmit, with the file still selected, use the File menu to choose Get Info (you could also use a right-click here). Depending on your settings, a panel slides out of the current window, or a new window opens. Either are labeled Inspector and have more details about the file, including its size, location, type, and Read and Write permissions:
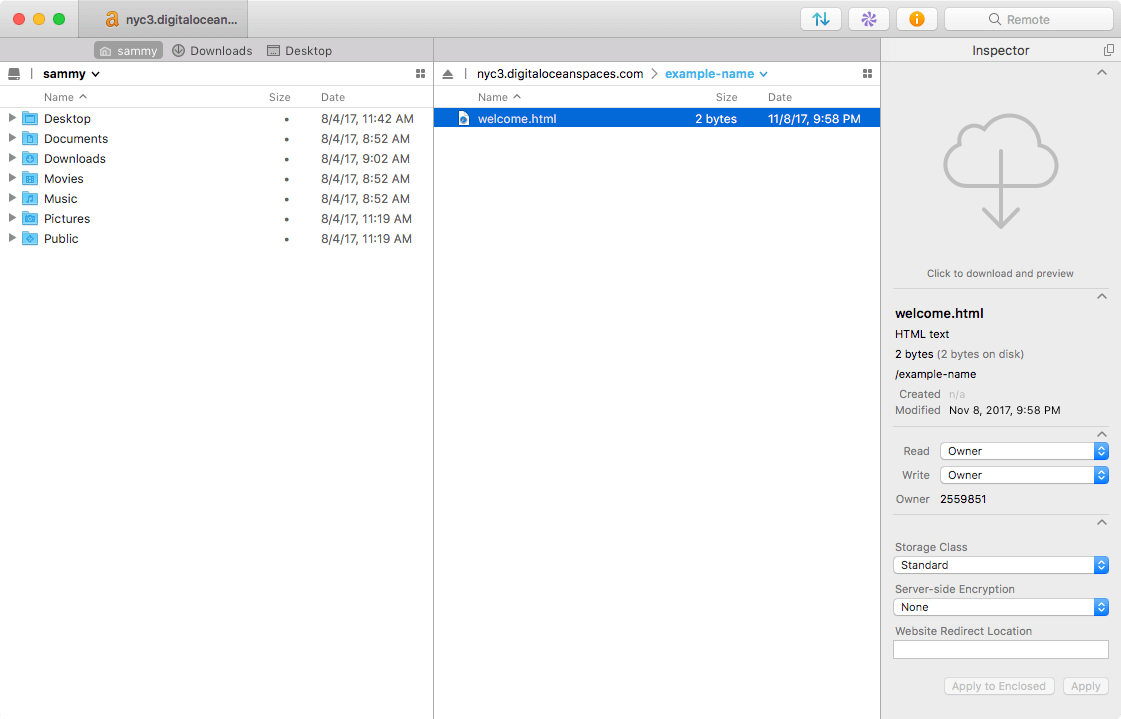
Use the drop-down menu next to Read: to change the setting from Owner to World, then click the Apply button at the bottom of the Inspector:

Transmit updates the file’s permissions. Return to your browser and reload the URL we tried before. Your file should successfully load.